Seed Shrimp (Ostracods): Culture Guide for Live Food
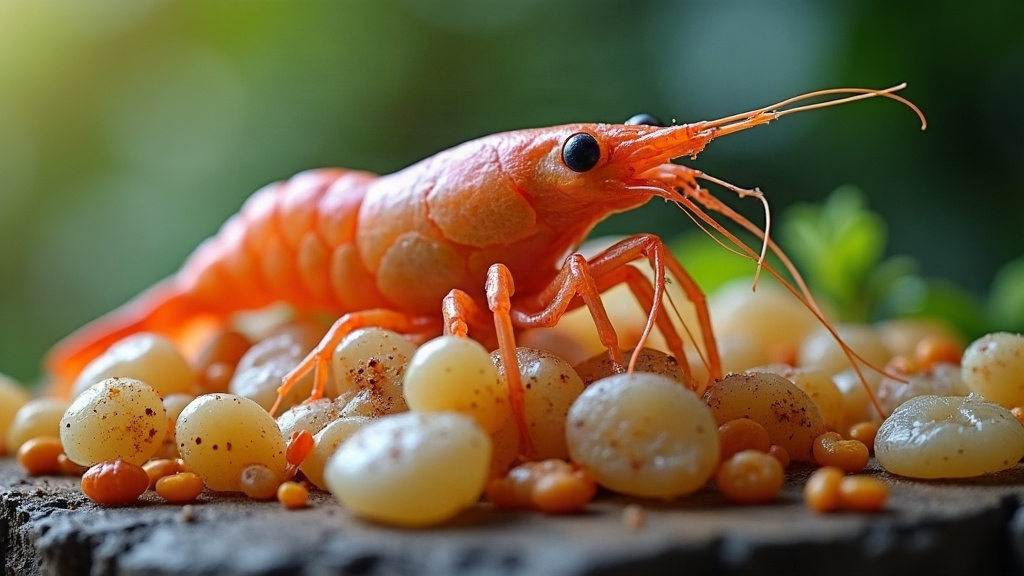
How to Culture Seed Shrimp (Ostracods) as Live Food
Seed shrimp, or ostracods if you want to sound like you know what you’re talking about at the fish club meeting, are tiny crustaceans tucked inside a bivalve-like shell. They’re one of the best live foods you can offer small fish, fry, and those fussy micropredators that turn their nose up at flakes. This guide covers a simple, low-maintenance approach to culturing them at home, so you’ve got a steady, nutritious supply on tap—perfect for maintaining vibrant shrimp tanks or feeding delicate species. No pricey gear needed, just patience and a jar.
What Are Seed Shrimp (Ostracods)?
Ostracods are small crustaceans, usually somewhere between 0.5 and 2 mm long, and they genuinely look like miniature clams or seeds drifting through the water. That’s not an accident of naming. Unlike daphnia or copepods, their whole body sits inside a two-part carapace, which is exactly what gives them that seed-like silhouette. They’re tough little things too: they shrug off a wide swing in water conditions and multiply fast once they’re fed properly.
Fish that especially benefit from seed shrimp include:
- Killifish and other small micropredators that instinctively hunt moving prey
- Betta fry and juveniles, which need tiny, highly mobile food
- Small tetras, rasboras, and danios that prefer live, wiggling meals
- Dwarf cichlids and gobies with small mouths
Ostracods move in this slow, jerky little hop, almost like they’re stumbling forward, and that motion is exactly what triggers a strong feeding response in fish that would otherwise ignore anything sitting still.
Why Culture Seed Shrimp Instead of Buying Them?
Growing your own comes with a handful of real, practical perks:
- Continuous supply: a healthy culture just keeps reproducing, so you’re never caught empty-handed before a feeding
- Low cost: once it’s running, the whole thing survives on cheap staples like yeast or spirulina powder, pennies a week really
- Gut-loading control: feed the ostracods something nutrient-dense first, and that nutrition passes straight through to your fish
- Disease safety: a homegrown culture carries far less risk of smuggling in parasites or pathogens than anything scooped from a wild pond
Setting Up Your Seed Shrimp Culture
Choosing a Container
Honestly, almost any clean container will do the job. A 1 to 5 gallon (4 to 20 liter) plastic tub, an old glass jar, or a food-grade bucket all work fine. Go for something shallow and wide rather than tall and narrow; more surface area means better oxygen exchange, and that translates directly into faster reproduction. Skip metal containers entirely, they can leach ions that quietly poison your culture over time.
Water and Conditions
Ostracods aren’t picky, but they do have a sweet spot:
- Temperature: 68 to 78°F (20 to 26°C). Warmer water speeds reproduction up, cooler slows it down
- pH: 6.5 to 8.0, neutral to slightly alkaline works best
- Hardness: moderate. They need calcium on hand to build their shells
- Light: indirect sunlight or a soft artificial light, mainly to keep algae growing
- Aeration: not mandatory, but a very gentle air stone helps stop the water from going stagnant
Always use aged, dechlorinated water. If your tap water runs soft, toss in a small piece of crushed coral or a pinch of a calcium supplement so shell development doesn’t stall out.
Seeding the Culture
You can pick up starter ostracods from aquarium shops, online live-food sellers, or a hobbyist buddy who’s already got a thriving culture going. Aim to start with 50 individuals or more; a bigger founding population gets the colony established noticeably faster. You can also collect wild ostracods from a clean pond if you’d rather go that route, just quarantine them first so you don’t accidentally bring home unwanted hitchhikers or disease.
Feeding Your Seed Shrimp
These guys are omnivorous detritivores, meaning they’ll eat pretty much anything small enough to fit in their mouth. Rotate between a few food sources to keep the culture in good shape:
- Green water / algae: hands down the best food option; grow a batch in a separate jar sitting in sunlight
- Spirulina or chlorella powder: just a tiny pinch, enough to give the water the faintest green tint
- Active dry yeast: a very small amount goes a long way, and overdoing it will foul the water fast
- Crushed fish flakes or powdered fry food: sprinkle it sparingly, a little dust is plenty
- Boiled lettuce or vegetable matter: builds up a surface biofilm and detritus layer they graze on
The golden rule here: underfeed rather than overfeed. Feed a light amount every one or two days, and only add more once the water has cleared up again. If it goes cloudy or starts to smell, that’s your culture telling you to back off.
Harvesting Seed Shrimp
Harvesting takes about two minutes once you’ve got the hang of it:
- Swirl the culture gently to concentrate the ostracods in one spot
- Shine a light on one side of the container, they’re drawn to it like moths
- Siphon or scoop them out with a fine brine shrimp net or a pipette
- Give them a quick rinse in clean water before dropping them into your fish tank
Only take out 20 to 30% of the population per harvest. Take more than that and you risk stalling the whole colony’s recovery.
Keeping the Culture Healthy
A little routine maintenance goes a long way:
- Weekly water changes: swap out 10 to 20% with aged, dechlorinated water
- Restart when needed: if the culture crashes or slows to a crawl, don’t panic, just set up a fresh container and transfer over a starter group
- Run backup cultures: keep two containers going at once. That way one bad batch never leaves your fish without dinner
- Clear out debris: siphon off excess mulm now and then so ammonia doesn’t build up quietly in the background
Conclusion
Culturing seed shrimp is genuinely one of the easiest, most satisfying ways to keep small fish and fry fed on something they actually want to chase. A basic container, some aged water, light and consistent feeding, and a bit of patience, that’s really all it takes to build an endless supply of live food that fires up natural hunting instincts and supports real growth. Start small, keep a backup jar running in the background, and you’ll never find yourself scrambling for live food again.