How to Keep Red Cherry Shrimp Vibrant in a Walstad Dirt Tank
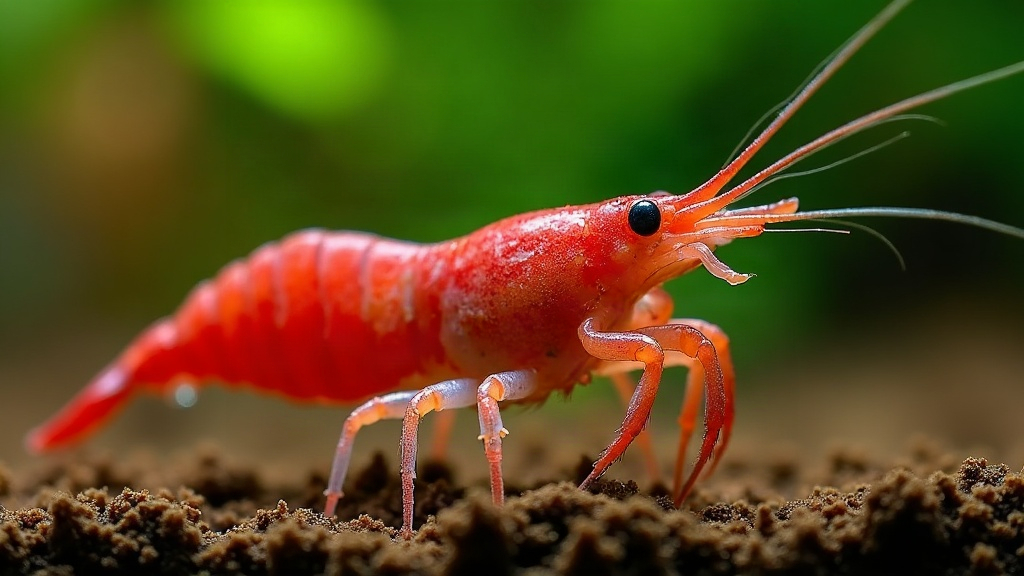
Why a Walstad Setup Is Basically Cheat Mode for Red Cherry Shrimp
Dirt under gravel, plants everywhere, no filter humming away in the corner. Sounds messy, right? It isn’t. A Walstad-style tank (soil-based, densely planted, low-tech) happens to be one of the best places you can put red cherry shrimp. The soil feeds the plants and the microbes, the plants clean the water on their own, and all that biological activity produces a constant film of biofilm for shrimp to pick at from morning to night. Give it a few months and you’ll notice deeper reds, bolder shrimp wandering out in the open, and berried females showing up without you doing much of anything. Below is what actually matters: the soil, the cap, the planting, the water chemistry, and the feeding habits that push color further.
Why Walstad Tanks Suit Red Cherry Shrimp
Red cherry shrimp (Neocaridina davidi) do best in water that’s mature, stable, and thick with plant life. That’s more or less the definition of a Walstad tank.
- Constant biofilm – rotting soil particles and decaying leaf matter keep a steady food supply going for the microorganisms shrimp graze on all day long.
- Stable parameters – dense plant mass soaks up ammonia fast and smooths out the swings that stress shrimp.
- Natural minerals – the dirt slowly releases calcium, magnesium, and trace elements, all of which shrimp need to molt cleanly and build up strong color.
- Soft, tea-tinted water – the tannins from decomposing organic matter roughly mimic the slow jungle streams these shrimp evolved in.
Setting Up the Dirt Layer
The soil layer is what makes the whole tank tick. Nail this part and honestly, the rest of the tank almost runs on autopilot.
Choose the Right Soil
Go with plain organic potting soil or topsoil, nothing with perlite, vermiculite, synthetic fertilizer pellets, or wetting agents mixed in. A layer roughly 1 to 1.5 inches (2.5 to 4 cm) deep is plenty. Skip anything heavy on compost; it rots too fast underwater and dumps way more ammonia than you want to deal with.
Mineralize the Soil (Recommended)
Mineralizing knocks down that first brutal ammonia spike and clears out floating junk before it ever hits the tank:
- Soak the soil in a bucket of water for 24 to 48 hours.
- Pour off the murky water and whatever’s floating on top.
- Repeat that soak-and-drain cycle three to five times, spread out over roughly a week.
- Spread the wet soil out flat and let it dry before it goes into the tank.
It’s a bit of extra work up front, sure, but this single step cuts the risky early phase down dramatically. Skip it and you’re basically gambling with your shrimp’s lives during week one.
Cap It Correctly
Top the soil with 1 to 1.5 inches of fine gravel or coarse sand. A properly sized cap seals the dirt in, keeps it from clouding the water every time a shrimp digs around, and still lets roots push down into the good stuff. Grain size around 2 to 3 millimeters is the sweet spot. Go finer and it compacts into a dense mat; go coarser and soil starts leaking up through the gaps.
Plant Heavily From Day One
In this setup, plants are the filter. There’s no cartridge doing the cleaning, so plant densely before shrimp ever go anywhere near the tank:
- Fast stem plants – hornwort, water sprite, and Rotala pull ammonia out of the water almost as fast as it’s produced.
- Rooted plants – Amazon sword and crypts feed directly off the dirt through their root systems.
- Floating plants – duckweed, salvinia, and frogbit shade the water column and mop up extra nutrients from the surface.
Try to get roughly 70 to 80% of the substrate covered right at planting, not weeks later. A tank that’s this densely planted is genuinely what keeps the water safe without any mechanical filtration at all.
Cycling and When to Add Shrimp
Here’s the part people rush, and it’s the part that kills colonies. A brand-new dirt tank is not safe for shrimp, full stop. The soil pumps out ammonia for the first several weeks as it settles in. Rough timeline to follow:
- Weeks 1–2: Water changes of 30 to 50% daily or every other day to keep ammonia diluted.
- Weeks 3–4: Start testing ammonia, nitrite, and nitrate. You want to see that spike coming back down.
- Week 5–6: Only add shrimp once ammonia and nitrite both read 0 ppm and you’re seeing fresh new plant growth.
Six weeks feels like forever when you’ve already bought the shrimp and they’re sitting in a bag at the pet store’s tank. But cherry shrimp have almost zero tolerance for ammonia, even a trace amount can wipe out a dozen shrimp overnight. Wait it out.
Water Parameters for Vibrant Color
Stable water loaded with the right minerals is what actually produces that deep cherry red. Aim for:
| Parameter | Ideal Range |
|---|---|
| Temperature | 20–24°C (68–75°F) |
| pH | 6.8–7.5 |
| GH | 6–8 dGH |
| KH | 2–5 dKH |
| TDS | 150–250 ppm |
Of everything on that list, GH matters most for color and molting. It’s the calcium and magnesium supply shrimp draw on to build shells that are both strong and vividly pigmented. If your source water runs soft, toss in a small piece of cuttlebone, some crushed coral, or a mineral block and check GH again in a week.
Feeding for Maximum Red
Color is part genetics, part diet, and diet is the part you actually control. In a mature Walstad tank, shrimp will mostly graze on biofilm all day without any help from you, but a few targeted foods push the red further:
- Astaxanthin-rich foods – spirulina, algae wafers, and anything with krill or paprika in it deepens red pigment noticeably over a few weeks.
- Calcium and protein – blanched zucchini or spinach every so often, plus an occasional high-protein pellet.
- Feed lightly – a pinch, two or three times a week, is genuinely enough. Overfeed and you’ll foul the dirt substrate and end up with a planaria outbreak, which is its own headache.
Keep the Red Line Strong
Even in a perfectly dialed-in tank, some shrimp will just come out pale or washed-out. That’s almost always genetics, not water quality. Cull the pale or dull ones and let your deepest-red shrimp be the ones doing the breeding. Pair that selective pressure with stable water and good food and you’ll see the whole colony’s color intensify within three or four generations, sometimes faster.
Common Mistakes to Avoid
- Adding shrimp too early, before the ammonia spike has actually settled down.
- Using soil that’s been mixed with synthetic fertilizers or perlite.
- A cap that’s too thin or too coarse, letting soil seep up into the water column.
- Overfeeding, which fouls the substrate and feeds pest worm populations.
- Large, sudden water changes that shock shrimp mid-molt, when they’re at their most vulnerable.
Conclusion
A Walstad dirt tank, done right, can produce some of the most vivid, active red cherry shrimp you’ll ever own. But “done right” matters here. Mineralize your soil, cap it properly, plant it heavily before shrimp go in, sit through the full cycle even when it’s tempting to rush, and keep GH steady while feeding astaxanthin-rich foods regularly. Do that, cull for color along the way, and the colony basically starts managing itself, rewarding you with intense reds and steady breeding season after season.