DIY Yeast CO2 vs Citric Acid CO2: Best for a 20-Gallon Tank?
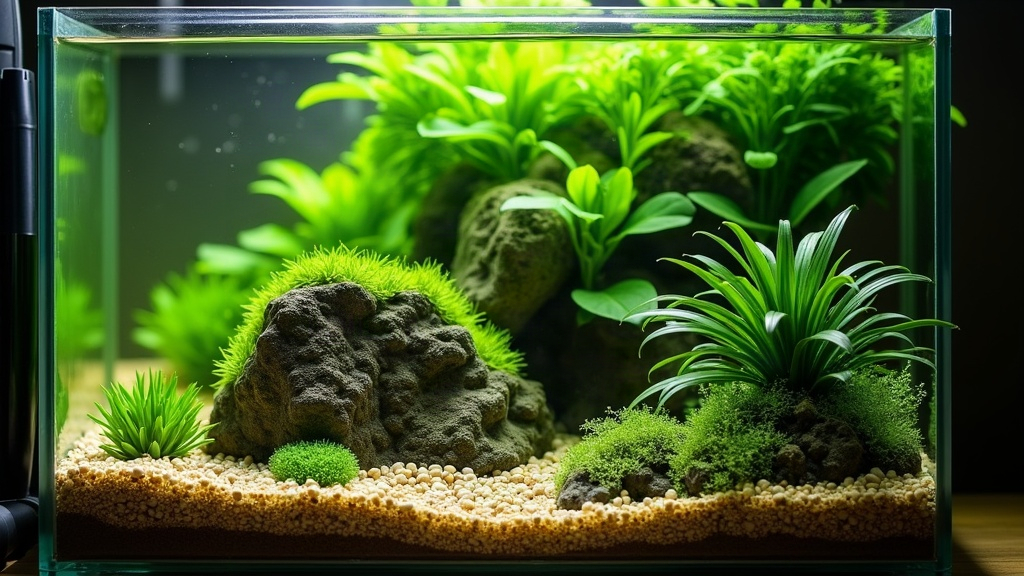
If you’re running a budget 20-gallon high-tech planted tank and can’t quite justify a pressurized CO2 setup yet, you’re basically choosing between two DIY routes: yeast-based CO2 or a citric acid and baking soda reaction. Yeast is cheaper and keeps pumping out gas longer, but it’s twitchy and can crash on you without warning. Citric acid costs a touch more per refill and needs recharging more often, but it behaves consistently batch after batch. Which one fits your 20-gallon better really comes down to one question: do you care more about saving a few dollars, or about not babysitting the thing every other day?
Why DIY CO2 Matters for a High-Tech 20-Gallon Tank
High-tech tanks run strong lighting to push fast growth, and that growth has to be fed with CO2 or things go sideways fast. Skip consistent CO2 and you’ll start seeing algae blooms, carpet plants melting away, or growth that just stalls out. That’s the classic “high light, low CO2” trap aquarists fall into constantly. The good news: a 20-gallon is actually a sweet spot for DIY CO2. Go much bigger and DIY systems start gasping to keep up with demand, but at this size, a couple of soda bottles can genuinely do the job.
How Yeast CO2 Works
This one’s straightforward: sugar, water, and yeast in a sealed bottle. Fermentation kicks off, CO2 builds up, and you tube it over to a diffuser or reactor in the tank.
Typical recipe:
- 2 liters of water
- 1 cup sugar
- 1/4 teaspoon active dry yeast
- Pinch of baking soda (optional, it stabilizes pH and stretches out the output a bit longer)
Pros:
- Dirt cheap, we’re talking pennies per batch
- Keeps producing for 2-4 weeks per bottle
- Ingredients you probably already have in the kitchen
Cons:
- The output curve isn’t flat. Expect vigorous bubbling the first week, then a slow fade after that
- Very temperature-sensitive. A warm room speeds fermentation up, a cold one slows it to a crawl
- It can quit on you suddenly, or worse, siphon yeast sludge straight into your tank if you skip the check valve
- You’ll be swapping bottles regularly and keeping an eye on a drop checker to know where you actually stand
How Citric Acid CO2 Works
Here, citric acid reacts with baking soda (sodium bicarbonate) inside a controlled drip or mixing chamber, releasing CO2 pretty much on demand.
Common setup:
- A citric acid solution in one reservoir
- A baking soda solution in another
- Some kind of metering device or drip mechanism that controls how fast they mix
Pros:
- Bubble rate stays far more consistent and controllable
- No living culture to die off or sulk when the room gets chilly
- Cleaner overall, less mess, and none of that yeasty smell lingering near the tank
- You can pause and restart it without having to “wake up” a culture from scratch
Cons:
- A bit pricier to keep running than yeast, though citric acid and baking soda are still cheap as far as hobby costs go
- You need a decent metering setup (syringe pump, valve, or a commercial kit) to get smooth flow. A bare-bones rig can still sputter and surge
- In a demanding tank, reservoirs empty faster and need more frequent refills
Side-by-Side Comparison for a 20-Gallon Tank
| Factor | Yeast CO2 | Citric Acid CO2 |
|---|---|---|
| Cost per month | ~$1-2 | ~$3-5 |
| Output stability | Variable, tapers | More consistent |
| Maintenance frequency | Weekly-ish | Every 1-2 weeks |
| Learning curve | Low | Low-Moderate |
| Risk of liquid backflow | Higher | Lower (with proper bottle design) |
| Best for | Hands-off, cost-first builders | Growth-focused, stability-first builders |
Which One Should You Choose?
- Go with yeast CO2 if keeping costs near zero matters more to you than perfect stability, and you can live with the occasional lull in output. It does fine in tanks stocked with forgiving plants like Java fern, Anubias, or crypts, species that won’t throw a fit over a rough week.
- Go with citric acid CO2 if you’re growing something fussy like Monte Carlo or dwarf hairgrass, or sensitive stem plants that show melting or yellowing the moment CO2 dips even briefly. Spending an extra few bucks a month here buys you real, visible consistency.
Tips for Either Method on a 20-Gallon Tank
- Install a check valve and bubble counter, no exceptions. It protects your tank from backflow and lets you actually see your flow rate.
- Run a drop checker with 4dKH solution alongside whichever method you pick, so you can visually confirm dissolved CO2 instead of guessing.
- Skip the plain airstone and use a diffuser or inline atomizer instead. DIY setups don’t generate much pressure, so efficient diffusion matters a lot more here than in a pressurized system.
- Keep two bottles (yeast) or two reservoirs (citric acid) going on a rotation, one active while the other gets refreshed, so your plants never sit without CO2 for a day or two.
Conclusion
On a budget 20-gallon high-tech tank, yeast CO2 wins if raw cost is your main concern, and citric acid wins if you want steadier output with less fuss day to day. Got easygoing plants? Yeast is a fine way to dip your toes into DIY CO2. Chasing a flawless, fast-growing carpet or keeping sensitive stems happy? The extra cost and slightly more involved setup of citric acid usually pays for itself in healthier plants and fewer algae battles down the road.